How to Install a New Door By Yourself
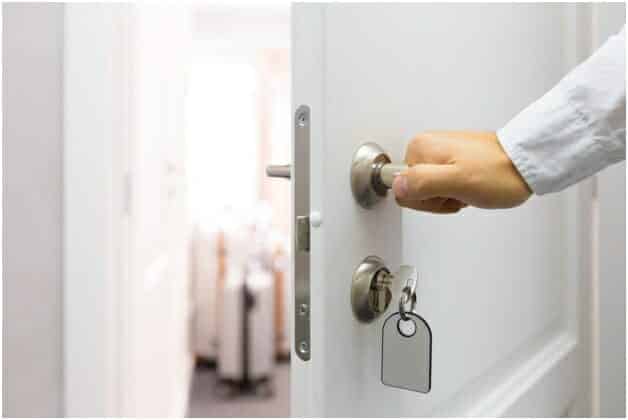
If you require an installation of a new door a professional locksmith can help you do it right.
A new door can add value and curb appeal to your home and create a lasting, positive first impression. It can also help to improve the security of your property giving you piece of mind. In this article we’ll examine the necessary steps when installing a new door.
If the reason for changing your door is solely for the purpose of upgrading your home’s security there might be other services that might help in that.
If you’re still positive about fitting a new door at your property then Let’s get started.
Equipment you’ll need
First and foremost; here are the tools and materials that you’re most likely going to need:
- Level
- Hammer
- Tape measure
- Screwdriver (Phillips)
- Caulking gun
- Wood shins
- Finishing nails
- Screws
- Caulk
- Insulation (foam or fibreglass)
- Drill and drill bits
- Pry bar
- Reciprocating saw

Preparation
When you think of preparation you could be forgiven for focussing on getting your old door and frame ready for removal, however the first thing that you should do is check over your new door and the associated kit; make sure it’s in good working order, complete and damage free. Imagine your frustration if you’d removed your old door only to find that you can’t install your new one!
Next you should remove the interior trim around the existing door and measure up; the new door should be half an inch shorter in height and around three quarters of an inch narrower in width. Make sure you know which way the door is going to open; sounds obvious but what a mistake to make! Always read the manufacturer’s instructions; there is invaluable information in there.
Removing your old door
Here comes the removal process:
- The existing door’s trim (note: sometimes you have to re-use this on your new door)
- Using your hammer and a nail set (or a screwdriver) detach the existing door by removing the hinge pins
- There will be either screws or nails attaching the sill and jamb to the house frame; you may need to use your reciprocal saw to cut these off. Remove the shims from between the door jab and house frame.
- Now you can remove the frame; you may need the pry bar or a friend to help.
Installing the new door
Pre-hung doors are far easier to install; we’d always recommend them if you’re doing this yourself so that’s what we’ll describe below. There are also a number of recommendations we’ve made about fire doors, if these are to be installed find here more information about choosing your fire door.
To start with it’s always worth doing a quick dry fit first just to make sure that everything looks as it should. If all is well, move on:
- Check the subsill to ensure it is level and use shims to adjust it if necessary
- Make sure the opening is square and plumb
- Check that the new door will completely clear the finished floor by measuring the new door from sill to the bottom. Next measure the height of the flooring. If the door won’t clear it you need to raise the frame with treated wood
- You need to weatherproof the subsill next; apply some caulk an inch from the front and back of the rough opening with a zig zag pattern in-between. Caulk the underside of the doorsill up too.
Now the tricky part.
- Set the door against the opening and raise the frame into place adjusting it with shims to ensure it’s plumb and level
- Insert screws through the jambs and shims and check there is even spacing surrounding the doorjamb
- Move outside and check that there is around half an inch of space between the door and the jamb stop all around
- Now make any adjustments and add in any extra shims if included it the manufacturer’s instructions and at the lockset and deadbolt positions
And there you have it; a hung door!
You should test it out at this point and ensure that it opens and closes smoothly. If not some manual adjustments may be in order; it’s normal to have to do this so don’t feel disheartened if you need to.
Before painting, check the manufacturer’s instructions.
Painting your door
Paint to your new door can be applied before or after the door is installed. Preferably before. Painting the frame should be completed prior to painting the door. The reason for painting the door before fitting it are many. You’d better apply at least 2 coats of paint before fitting the door and a final coat after the door is installed. This would allow the paint to dry and for the final coat only to repair the small areas that requires attention after the installation is completed.
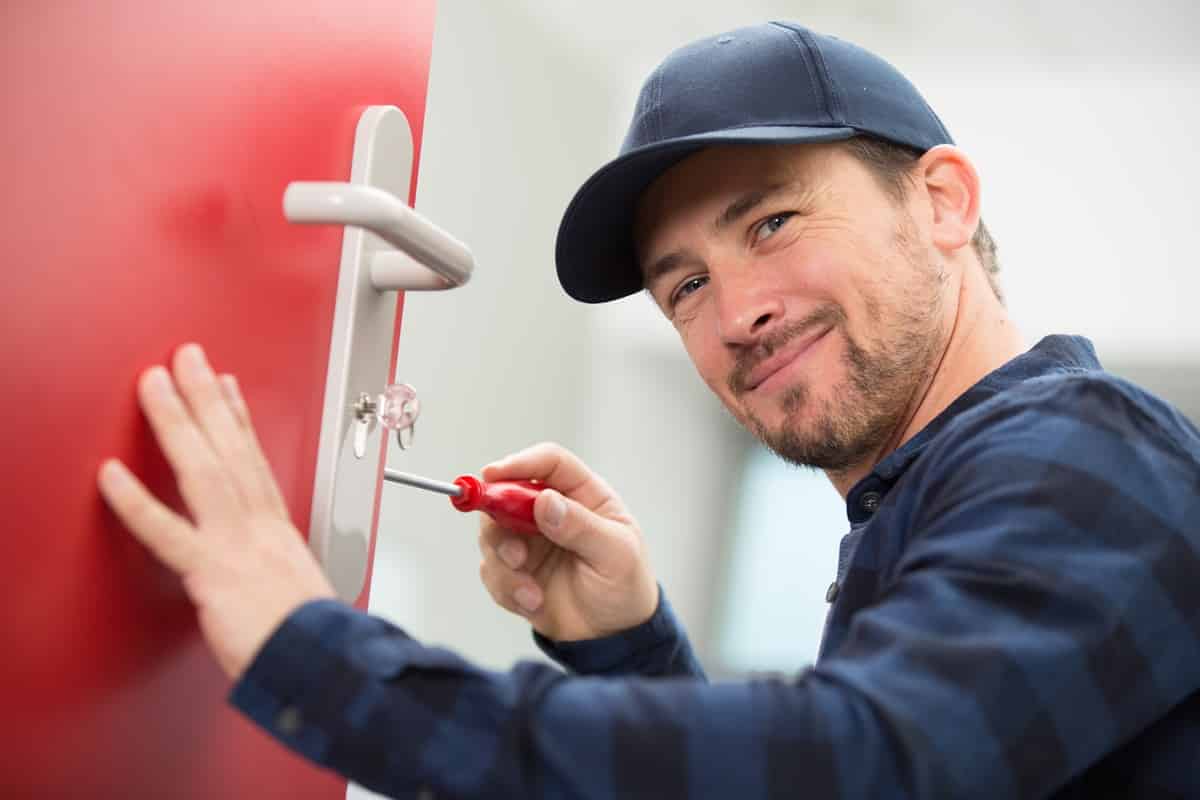
Reaching out door fitters
If you’ve read through the instructions and feel that you’d better get a craftsman to handle the installation for you, feel free to reach out our professional door fitters for further assistance.
We’ve got a reliable team of locksmiths and door specialist available 24 hours to provide you with temporary door repairs or fit a new door on your behalf.
Contact us 24/7 on 02081332166.